
Note: This article contains affiliate links. If you buy something through one of those links, Parlor City Sound may earn a small commission, and it doesn't cost you anything when that happens. We only link to gear and services relevant to the topic. And our opinions aren't for sale. If we recommend a product, it's because we think you might like it as much as we do.
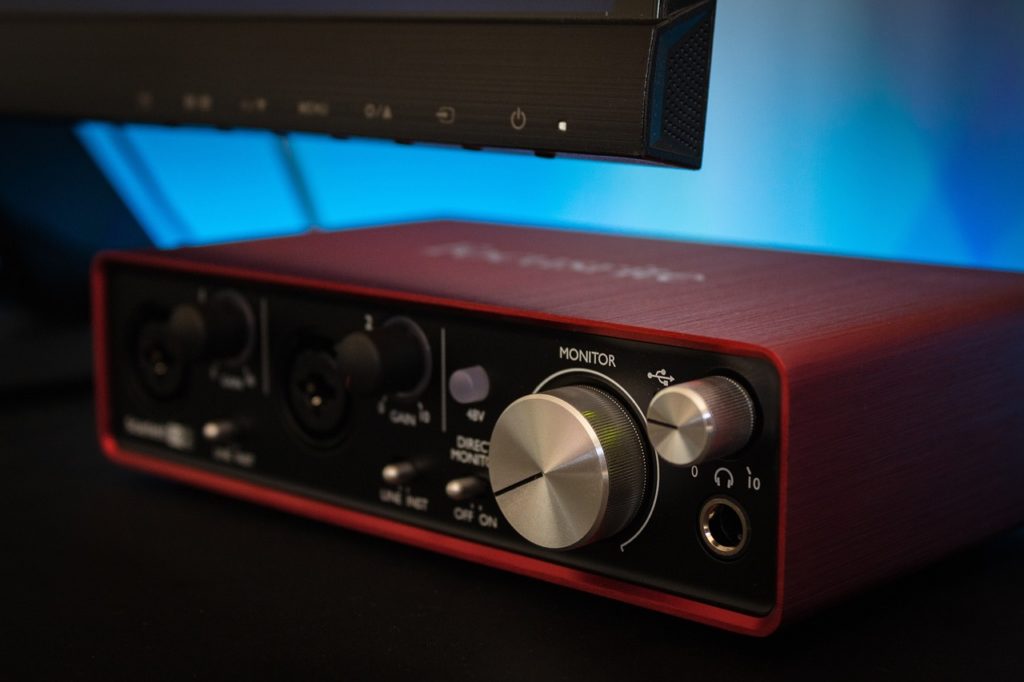
An audio interface, also known as an “AD/DA converter” or simply an “AI”, converts analog audio signals into digital ones so your computer can use them, and then turns digital signals back to analog so you can hear them through your monitors or headphones.
An audio interface might seem confusing when you first get introduced to them, and if you aren’t sure what features you really need or how to tell a good audio interface from a bad one, you’re definitely not alone. So let’s go over a basic rundown of what an audio interface does and how it works. And let’s take a look at some popular audio interfaces the market, too, to get a sense of what they cost.
What is an audio interface?
Simply put, an audio interface is a device that converts analog audio signals into digital signals. It’s how you get the sound captured with your recording studio microphones into your computer. And then you can record that sound in real-time using DAW (digital audio workstation) software.
The audio interface also converts digital audio signals back into analog signals so you can use them outside of the computer. You could send these signals to your monitors, back to a mixing console, or even to an analog recording medium like reel-to-reel.
Audio interfaces are often referred to as AD/DA converters. The “A” stands for analog and the “D” stands for digital. This is just a fancy way of saying it converts analog to digital and digital to analog. You’ll also find AD and DA converters that only do one or the other—it’ll convert analog to digital, but it won’t convert digital to analog, or vice versa. So you’ll of course want to make sure you’re getting an audio interface that does what you need it to do.
The three key attributes to look for in an audio interface
There are three key features you’ll want to look at when considering an audio interface, so let’s take a quick look at those.
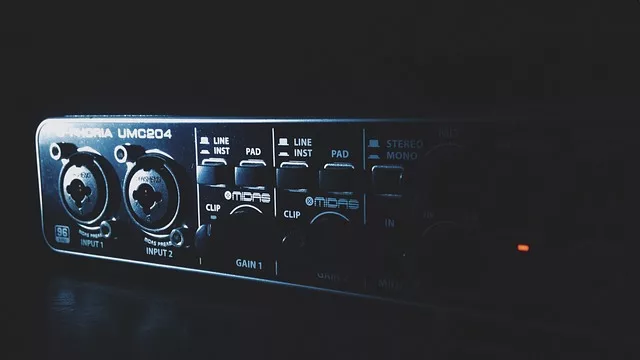
Inputs allow you to connect microphones and instruments (or even an audio mixer) to the audio interface. You need to find an interface with enough inputs to cover your needs. Most audio interfaces have preamps on these inputs, allowing you to provide phantom power to condenser microphones without needing additional equipment.
Resolution describes the sample rate and bit depth the audio interface can record at. Most interfaces can handle multiple resolutions. We’ll discuss this in a moment.
Simultaneous I/O tells you how many input and output channels the interface can handle at the same time. Having more input channels means you can simultaneously track more inputs at once in your DAW. Output channels let you return audio from the computer back to the analog realm.
MORE: Audio interface vs mixer: which one do you need?
Audio Interface resolutions explained
If you’re familiar at all with digital photography, you surely know that an image with higher resolution has more detail and generally “looks better”, right? Well, audio interface resolution is generally the same idea. In digital audio, a higher resolution results in higher audio fidelity—you’re recording a more detailed sample of the source material.
Resolution typically refers to sample rate and bit depth. For instance, you might see an audio interface saying it has a resolution of 48/16. This means it has a sample rate of 48 kHz and a bit depth of 16.
Sample rate refers to how many samples of audio are captured per second. The more samples you’re capturing, the more accurate the recording is. Audio interfaces typically have sample rates ranging from 44.1 kHz to 192 kHz. So this means one captures 44.1 samples of audio per second, and the other can capture 192 samples per second. The second one is going to sound better, because it’s reproducing the source material more accurately.
Bit rate refers to the dynamic range of the audio, with each bit equalling about 6 decibels (dB) of dynamic range. That means a bit rate of 16 gives you 96 dB of range. 24-bit is even better, with 144 dB. So again, a higher number is better here. Most audio interfaces have bit rates of either 16 or 24.
Keep in mind that higher audio resolution means bigger file sizes, and you’ll need more processing power to work with them. Also, it’s debatable whether most humans can really hear a difference in sound quality above a resolution of 88.1 kHz/ 24-bit, though it’s usually a good idea to record at the highest resolution possible, if and when you can.
What does simultaneous I/O mean and why does it matter?
Simultaneous I/O refers to how many analog signals the audio interface converts to digital at once, and how many digital signals get converted back to analog at the same time.
If an audio interface has 8×2 simultaneous I/O, it will convert eight individual analog signals and send them to your DAW, and it will pull two digital signals from your computer and convert them back to analog. That means you can record in eight individual DAW channels at once, and you’ll get stereo sound returned from the computer too.
It’s pretty common to see audio interfaces boasting huge simultaneous I/O numbers, like 96×96 for instance. It may only have eight XLR or TRS inputs, but it can take in more channels from other devices by ADAT, ethernet networks, or some other system. This might be useful to you eventually, but most home studios won’t really need that at first. So be sure to look at the actual, practical number of inputs and outputs.
The audio resolution is (sometimes) a lie
Now for the annoying part of shopping for an audio interface: marketing people always leave out some of the finer details that really begin to matter once the honeymoon phase with your new gear has lapsed.
Some audio interfaces boast that they record at 192 kHz, 24-bit … but they sort of don’t. That might be their resolution when recording two channels, but when you move up to eight channels you’re suddenly restricted to 48 kHz, 24-bit. It’s not terrible, but it sure does feel like false advertising when you’re buying an AI because of that higher input count.
ADAT has similar limitations too. ADAT can carry eight channels at 48 kHz, but just four channels at 96 kHz and only two channels at 192 kHz. So if you’re expanding your studio with more gear, maintaining higher resolutions gets to be profoundly expensive when using some of these networking options, like ADAT.
Which audio interface should you get?
Ultimately, you’ll want to take this information we provided here, expand on it, and buy the audio interface that’s right for your own needs. These devices are pricey, so take your time with this decision. Shop around. Read reviews. You don’t want to rush into buying an audio interface only to learn it doesn’t do what you need it to do. Here are a few options worth considering.
Behringer U-Phoria UM2
- $45
- 2x inputs (1 XLR/ TRS preamp, 1 instrument)
- 2×2 simultaneous I/O
- 48 kHz, 16-bit resolution
This is a low-frills, super-affordable AI perfectly suited for a solo artist, with one phantom-powered preamp for a condenser mic and one hi-z input for a direct line from your guitar amp.
Behringer U-Phoria UMC202HD
- $90
- 2x inputs (XLR/ TRS preamps with phantom power)
- 2×2 simultaneous I/O
- 192 kHz, 24-bit resolution
A significant upgrade over the UM2, Behringer’s U-Phoria UMC202HD offers two preamps and studio-quality resolution. Great for a solo act, or for recording master outs from a mixer.
Behringer U-Phoria UMC404HD
- $170
- 4x inputs (XLR/ TRS preamps with phantom power)
- 4×4 simultaneous I/O
- 192 kHz, 24-bit resolution
Similar to the UMC292HD, but with double the I/O. It also adds four inserts as well as MIDI I/O, making this the cheapest audio interface we’ve yet seen with a rich roster of features.
M-Audio AIR 192/14
- $330
- 8x inputs (4x XLR/ TRS preamps with phantom power, 2x hi-z, 2x TRS)
- 8×4 simultaneous I/O
- 192 kHz, 24-bit resolution
The M-Audio AIR is perhaps the cheapest audio interface a band should really consider, assuming you’re using a simple drum mic layout. It features four preamps and two hi-z line inputs, plus two TRS inputs. It also has MIDI I/O and four TRS outputs. It’s a very good audio interface in this price range. But don’t buy this until you’ve looked at the next entry!
TASCAM US-16×08
- $370
- 16x inputs (8x XLR preamps with phantom power, 8x TRS)
- 16×8 simultaneous I/O
- 96 kHz, 24-bit resolution
Easily one of our top picks for bands, this audio interface has eight preamps, eight TRS inputs, MIDI I/O, built-in DSP effects, and it mounts in a rack, too. Having eight TRS outputs is pretty darn handy as well. This is a great audio interface for bands running lots of drum mics in a home studio environment.
Presonus Studio 1810
- $420
- 8x inputs (4x XLR/TRS preamps with phantom power, 4 x TRS)
- 18 x8 simultaneous I/O
- 192 kHz, 24-bit resolution
This audio interface has fewer inputs, than the TASCAM. But it does support ADAT, allowing for future expansion, and also has MIDI, DSP effects, and S/PDIF I/O as well.
Mackie Onyx24
- $959
- 24x inputs (18x XLR/ TRS with preamps and phantom, 14x TRS)
- 24×4 simultaneous I/O
- 96 kHz, 24-bit resolution
In our humble opinion, the Mackie Onyx24 is the best home studio audio interface for less than $1,000. It’s a full-featured mixer with 18 preamps in channel strips with parametric EQ, panning, and built-in effects.
There are audio interfaces at this price point with more features, better digital connectivity (this mixer doesn’t have ADAT), and better converters. But the Mackie Onyx24 can get your full band recorded without unplugging a single cable, multi-track or live. And we dig that a lot.
Looking for an audio interface? You better shop around
There is an audio interface for sale to suit just about anyone, from a bedroom musician putting together vocal and guitar jams to a semi-professional home studio engineer expanding their equipment to the next level. The trick to finding the right audio interface is simple: shop around.
The audio interface you choose will play a quintessential role not only in your current project, but in future projects as well. And it’s not like an instrument you can test drive and feel out to see if there’s a mystical connection. You’ll want to crunch numbers, review your budget, compare as many units as possible, and ultimately choose what’s going to suit you the best, and for the longest stretch of time too.
So take your time with this decision. Weigh your options and read reviews. Your audio interface is a hugely important piece of equipment in your home recording studio, so make sure you’re getting something with the best features for your needs. And we hope our guide helped inform your decision!


