Note: This article contains affiliate links. If you buy something through one of those links, Parlor City Sound may earn a small commission, and it doesn't cost you anything when that happens. We only link to gear and services relevant to the topic. And our opinions aren't for sale. If we recommend a product, it's because we think you might like it as much as we do.
At some point in any forward-moving band’s career, you’re going to wonder how to record a full band. And you won’t get too deep into that question before realizing one particularly ugly truth. Recording a full band is flippin’ expensive.
You’re really only left with two choices. Either you go into a professional recording studio and shell out thousands of dollars, or you buy your own recording gear and do it yourself. But how much will that second option cost you? How much does it cost to build a home recording studio, and how difficult is it to learn?
Recording audio isn’t as simple as cramming a microphone cable into a computer and hitting a big red button. It’s not rocket science, but it’s definitely engineering, and may not be everyone’s cup of tea. So let’s take a look at what’s involved here. We’ll examine the equipment, the process, and more. And be sure to grab yourself a snack, because this is going to take a while!
One more note. If you want professional results in a hurry, you’ll need to visit a professional recording studio. There’s simply no getting around that. Learning how to record a full band takes time. It’s going to involve trial and error. So if you need a demo right away or if you’re otherwise pressed for time, maybe bookmark this guide on how to record a full band for a later time.
What you’ll need to record a full band at home
We’re going to approach this question of how to record a full band as if you’re entirely new to the process. And we’ll begin with a quick rundown of the equipment you’ll need to record your band. We’ll link to other articles of ours wherever applicable, so you can learn more about each component. Here’s what you’ll need to record a full band at home:
- A decent recording studio computer. You’ll generally want a PC or a Mac (either is just as good as the other!) with a decent processor and lots of RAM
- DAW software, basically a computer program that allows you to record and produce music
- An audio interface is a device that converts analog signals into digital ones, and digital signals back to analog ones
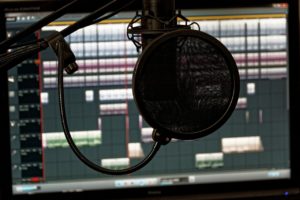
- Recording studio microphones, which end up eating up a lot of your budget when recording a full band, especially when recording acoustic, “analog” drums
- Cables, mostly XLR (microphone) and TRS (instrument) cables, to connect microphones to the audio interface. If you’re recording in two separate rooms, you’ll also want to look at stage snakes. Oh, and it helps to have some mic stands on hand, too. It’s maybe funny to ask a friend to stand around holding microphones over their heads, but the mic stands are a bit more practical
- Other useful equipment includes outboard microphone preamps, signal processors (compressors, reverbs, etc.), and power conditioners. But if you’re focused on learning how to record a full band on a tight budget, you can just let your audio interface and your DAW handle a lot of that
What microphones does a band need in a home studio?
We often think of microphones as being used for vocals. So when you’re learning how to record a full band at home, you might be surprised to learn that microphones are used for instruments, too. Drum kits can have as many as 10 to 15 microphones dedicated just to them, though you can get away with recording drums with a lot less.
Our guide on recording studio microphones goes into greater detail explaining how these mics work and how they’re different. We definitely recommend giving that a read. But here are some general recommendations for microphones that should suit just about any budget:
- For vocals, you’ll want a large or medium diaphragm condenser mic. Some popular examples include the Presonus M7, MXL 990, Audio-Technica AT2020, Audio-Technica AT4040, and the legendary Neumann u87. On a tight budget, the Behringer C-1 is just $50 and is arguably the best condenser mic for under $100
- For guitars, you can just “direct line” to save money. This means plugging your guitar amp’s output directly into the audio interface, provided the AI has a hi-Z input. With a nicer guitar amp or cab, you’ll want to use an instrument mic, like the Shure SM57 or even better, the Sennheiser e 609. The 609 is designed for recording guitars, and for a few bucks more you can’t go wrong.
- For drums, you’ll want to read our drum recording guide, because that’s a huge topic. We have recommendations for various budgets in that article
Location, location, location!
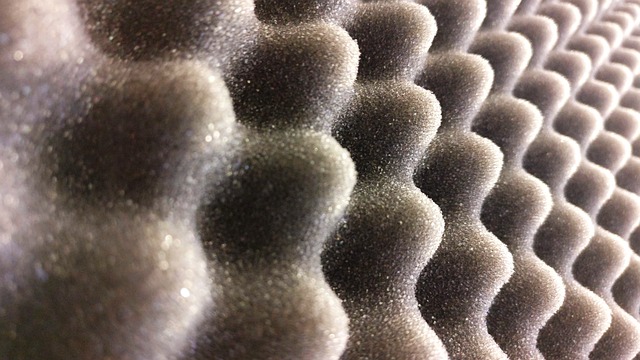
Once you have your gear sorted out, you’ll want to figure out where exactly you’ll be recording your music. And if your budget can stretch a bit further, you’ll want to consider investing in some soundproofing and acoustic treatment. Yep, that’s yet another one of our guides. We told you this stuff was going to be complicated!
Preparing and treating a room for good acoustics gets expensive and messy fast. Doing it correctly involves ripping out walls and insulation and replacing them with more expensive materials. Acoustic foam is pricey and can be slightly frustrating to work with. Doing all of this the “right way” won’t be a picnic, for you or your wallet. So how do you manage soundproofing and acoustic treatment on a tight budget?
The simple solution? Blankets and pillows. Pillows work reasonably well as bass traps, and blankets can be hung on walls and ceilings to serve as makeshift absorption panels. Those phrases will make more sense after reading that article, we promise! These low-cost and no-cost solutions won’t work as well as the real deal, but they’ll get you through most DIY recording projects, including singles, demos/ EPs, and even low-budget LPs.
Let’s get tracking!

With your space prepared, your DAW software installed, and all of your equipment powered up and miked, you’re surely chomping at the bit now to get recording, right? Well, there are ninety other things we need to … just kidding. You’re actually ready now. Yay!
Recording is often referred to as tracking because you’re recording tracks of a song that get mixed together later on. You’ve probably heard the phrase “multitrack recording.” This refers to recording multiple tracks at once. You then combine all of these tracks together in a separate process we’ll discuss shortly, called the mixdown phase.
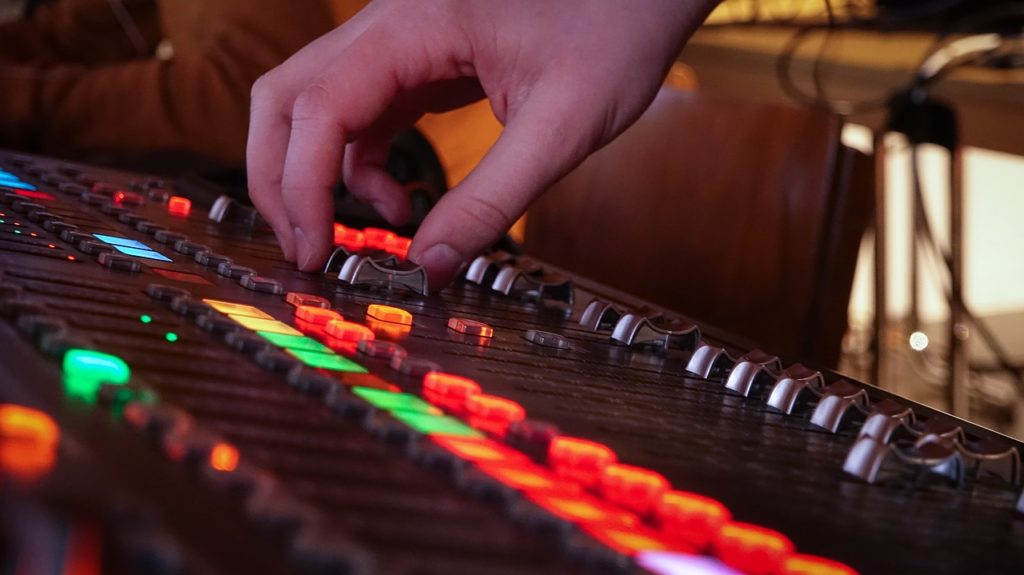
Some audio interfaces allow for multiple tracks to be recorded in your DAW simultaneously. Some of them, like the pricey Mackie Onyx24, are even big enough to record a full band all at once.
Most multitrack recording involves recording each musician’s performance one-by-one. You’d traditionally begin with the drums, then lay down the bass while the bassist listens to the drums, then add on guitars, keys, and finally vocals. You don’t have to do it in this order, of course. But when you’re learning how to record a full band, you’ll benefit from having everything laid down separately and then mixing it all together later.
You could record the full band live, too, meaning you’re recording everyone all at once. This can save loads of time and money, but the results won’t usually sound as good as doing a traditional multitrack recording.
Some useful tracking tips when learning how to record a full band
- Get stuff right before you start recording. This means getting mic placements and levels accurate. It also means getting everyone to tune their instruments correctly and dial in their ideal tones
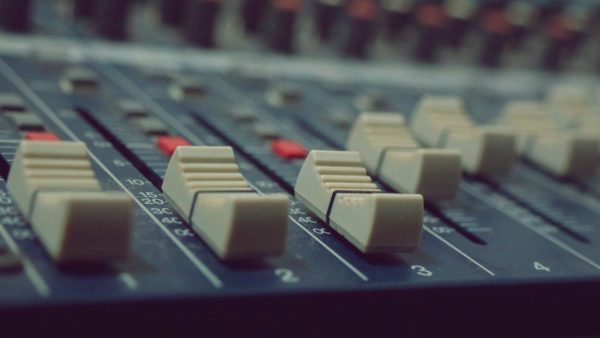
- On your meters, red is bad! Yellow isn’t great either. We’ve all seen some guy in a movie “crank it” and ram the sliders as far forward as forward goes. That would sound like doo-doo in the real world. Fine-tune your levels (and your gain, too!) to maximize clarity, keeping the bouncy lights in the green
- Record at the highest resolution your gear is efficiently capable of. This gives you a more accurate reproduction of the sound and more headroom
- Don’t add compression just yet. Set everything up to get the best natural sound from the microphones without coloring the sound before you even hit record
- Put markers down on the floor that tell people where to stand, especially vocalists and anyone playing acoustic instruments. This keeps everyone on their mark so microphones are picking up the same sound again and again
- Monitors and headphones matter! Your shelf speakers might sound glorious when you’re cranking up your favorite tunes, but consumer speakers and headphones color the sound, and that’s no bueno. Even cheaper Presonus or Mackie monitors will outperform a fancy McIntosh stereo system when it comes to monitoring in a recording environment (and we really love McIntosh—they’re from Binghamton, too!). Closed-back headphones are a must when tracking as well
Mixing things up … well, down … with a mixdown
You started out on this journey wanting to know how to record a full band. So now that the recording is finished, you’re all done, right? Oh, how we wish that were the case!
A mixdown involves combining several tracks together to create a stereo sound. You’re taking all of those drum, bass, guitar, and vocal tracks and blending them together into just two tracks, one going left and one going right right.
Some engineers mixdown into even more tracks. But since you’re just starting out with learning how to record a full band, we recommend sticking with a stereo pair of just two tracks.
Hints and tips for a great mixdown
Let’s take a look at some helpful tips on how to process individual tracks, as well as your final mixdown itself:
- Listen to some professional recordings, then listen to your own. This can go a long way toward training your ear, and more importantly, can teach you a lot about how to record a full band.
- Take some breaks! Don’t burn out your ears with super lengthy sessions. Take breaks. Get away from your desk. Give your ears some rest, and you’ll come back to the project with renewed clarity.
- Use panning to liven up any mix. Try to avoid parking too much sound dead-center. Use panning to fill out the stereo field with sound. Again, listen to how other recordings have done this.
- EQ is your friend! Use equalization to cut out the low-frequency muddiness that can ruin an otherwise solid mix. Be especially mindful of frequencies around 120Hz, too.
- Don’t go bananas with compression. Compression is an incredibly useful and versatile tool, but all too often engineers abuse the crud out of it and end up ruining tracks. Use compression to address existing problems, and for nothing else.
- Get creative with those extra tracks. Think of the stereo field as your tapestry, and paint something beautiful there (without painting over anything else, of course!). You can layer in more guitars, some key stabs, maybe some additional percussion … with most DAWs allowing for unlimited tracks, you have a lot of freedom to truly express yourself creatively.
- Listen to your mixes everywhere. Give it a listen in the car, on earbuds, through computer speakers … everywhere. Your audience won’t be listening to your music on professional-grade studio monitors, so try to make it sound good no matter what it’s playing through.
Mastering your mixes
There’s one final step to get through before your music is ready, and it’s one that’s spent about a century or so getting steeped in mystery and mysticism. To get your mixdowns mastered, you’ll need to buy a robe, obtain a large leather sack of animal bones, and travel to Greece where you’ll find the Mastering Oracle at the peak of … okay, yeah, cheesy joke. It was worth a try.
The dark art of mastering involves cleaning up and fine-tuning your mixdowns and preparing your finished work for distribution. And yes, mastering can be a very complicated subject. But honestly, in the modern age of computer recording and general format conformity, it’s not out of the hands of a beginner, especially not when you’re working on demos or an unsigned freshman album release. We recommend reading up on the subject, watching tutorials, and checking out the knowledge resources available for your DAW of choice. We’ll have guides on mixing and mastering in the near future.
We hope we helped you learn how to record a full band!
As you can tell by the forty-seven bazillion links to other guides we shared, learning how to record a full band isn’t a topic that’s super easy to sum up quickly. In a lot of ways, audio engineering is quite similar to learning a whole other instrument. It requires its own skillset, the equipment can get expensive if you let it, and it takes lots and lots of practice to get really good at it.
Building a home recording studio is a lifelong quest of endless learning and constant, costly upgrades. It’s hard to recommend to anyone really, but if you’re still reading this far into the article, you’re not just “anyone.” It takes a bit of commitment to really get into DIY recording, and you showed a bit of that already. Not a bad way to get started, we think!


